ReactNative SafeareaView
The main focus of safeareaView in react native is to render the content within the boundaries.
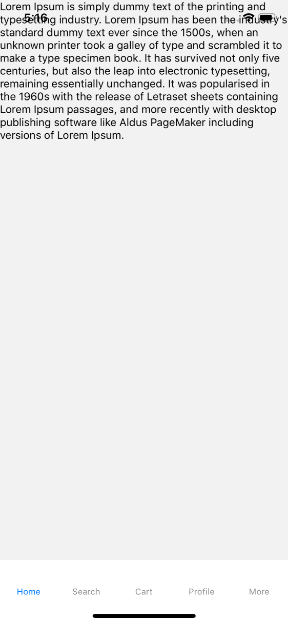
If safe area view is not included in App then content will be rendered from top.

To Import SafeAreaView in the Code
import { SafeAreaView} from ‘react-native’
Use of SafeAreaView
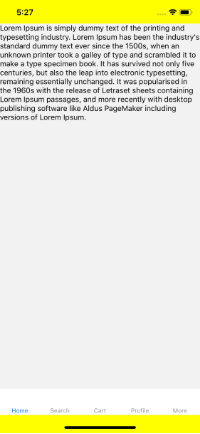
Wrap your TopLevel view with the SafeAreaView with flex:1 and provide backgroundColor as per needed.
import React from 'react';
import {SafeAreaView, StyleSheet} from 'react-native';
import Navigator from './navigation';

const Ecommerce = () => {
  return (
    <SafeAreaView style={styles.wrapper}>
      <Navigator />
    </SafeAreaView>
  );
};

const styles = StyleSheet.create({
  wrapper: {
    backgroundColor: 'yellow',
    flex: 1,
  },
});
export default Ecommerce;

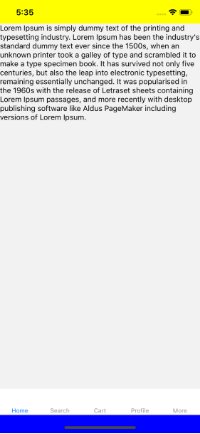
But, sometimes we need to set different backgroundColor at the top and Bottom. Lets write code for that.
import React from 'react';
import {View, Text, SafeAreaView} from 'react-native';
import Navigator from './navigation';

const Ecommerce = () => {
  return (
    <View style={{flex: 1}}>
      <SafeAreaView style={{backgroundColor: 'yellow'}}></SafeAreaView>
      <Navigator />
      <SafeAreaView style={{backgroundColor: 'blue'}} />
    </View>
  );
};

export default Ecommerce;

To Run the React Native App
Open the terminal again and jump into your project using.
cd ProjectNameTo run the project on an Android Virtual Device or on real debugging device
react-native run-androidor on the iOS Simulator by running
react-native run-iosThat was the React Native SafeAreaView for safe area boundaries. If you have any doubts or you want to share something about the topic you can comment below.
Hope you liked it. 🙂