Introduction to Django/Python
Django is a Web framework written in Python. A Web framework is a software that supports the development of dynamic web sites, application and services.
Installation
The basic setup consists of installing Python, Virtualenv, and Django.
Using virtual environments is not mandatory, but it’s highly recommended.
Go through the django site to download.
djangoproject.com/download/
Lets start by creating a folder
mkdir testProject
cd testProject
This folder is the higher level directory that will store all the files and things related to our Django project, including its virtual environment.
So let’s start by creating our very first virtual environment and installing Django.
Inside the testProject
virtualenv venv -p python3Our virtual environment is created. Now before we start using it, we need to activate:
source venv/bin/activate
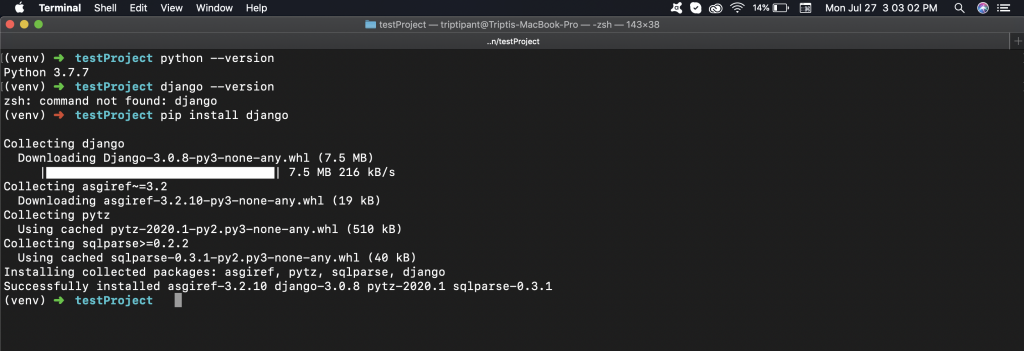
You will know it worked if you see (venv) in front of the command line, like this:

By the way, to deactivate the venv run the command below:
deactivate
Installing Django
It’s very straightforward. Now that we have the venv activated, run the following command to install Django:
pip install django
Starting a New Project
To start a new Django project, run the command below:
django-admin startproject myTestproject
django-admin is automatically installed with Django.
Our, myTestproject directory will look as a like below.
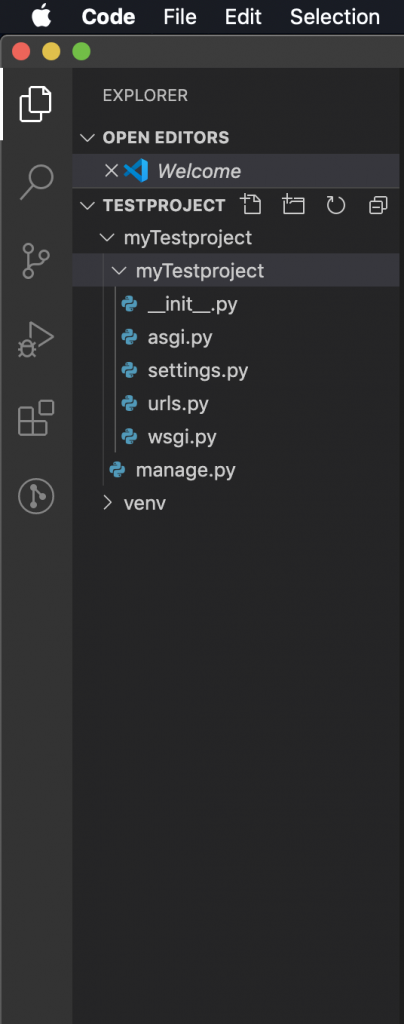
- manage.py: a shortcut to use the django-admin command-line utility. It’s used to run management commands related to our project. We will use it to run the development server, run tests, create migrations and much more.
- __init__.py: this empty file tells Python that this folder is a Python package.
- settings.py: this file contains all the project’s configuration. We will refer to this file all the time!
- urls.py: this file is responsible for mapping the routes and paths in our project. For example, if you want to show something in the URL
/about/, you have to map it here first. - wsgi.py: this file is a simple gateway interface used for deployment. You don’t have to bother about it. Just let it be for now.
Now, you can run the server using
python manage.py runserverFor, now you can ignore the migrations.
Now, copying the http://127.0.0.1:8000/ into our browser will open the Django browser.
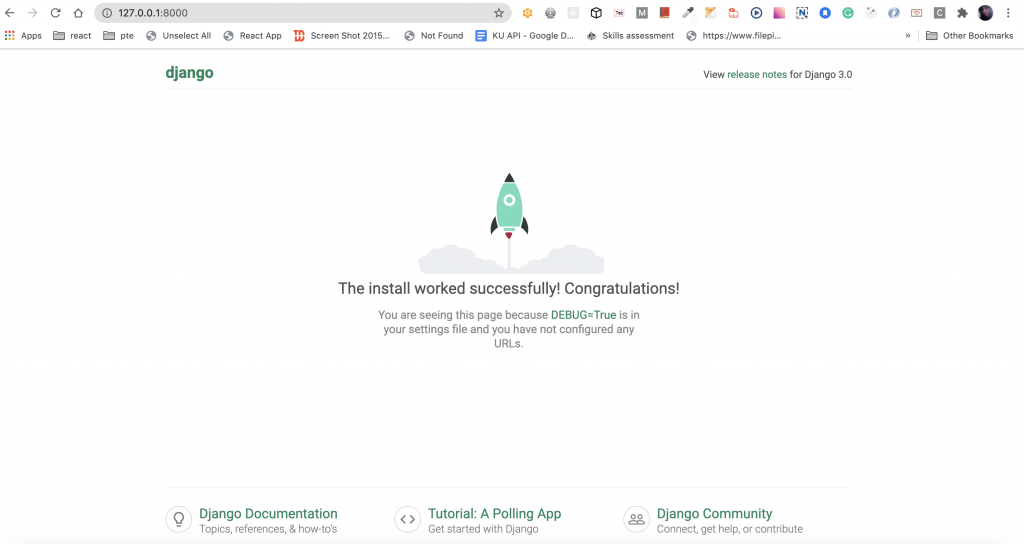
Hit Control + C to stop the development server as you can see above.
In Django we have the concept of app and project
- app: is a Web application that does something. An app usually is composed of a set of models (database tables), views, templates, tests.
- project: is a collection of configurations and apps. One project can be composed of multiple apps or a single app.
Lets create our first app
django-admin startapp items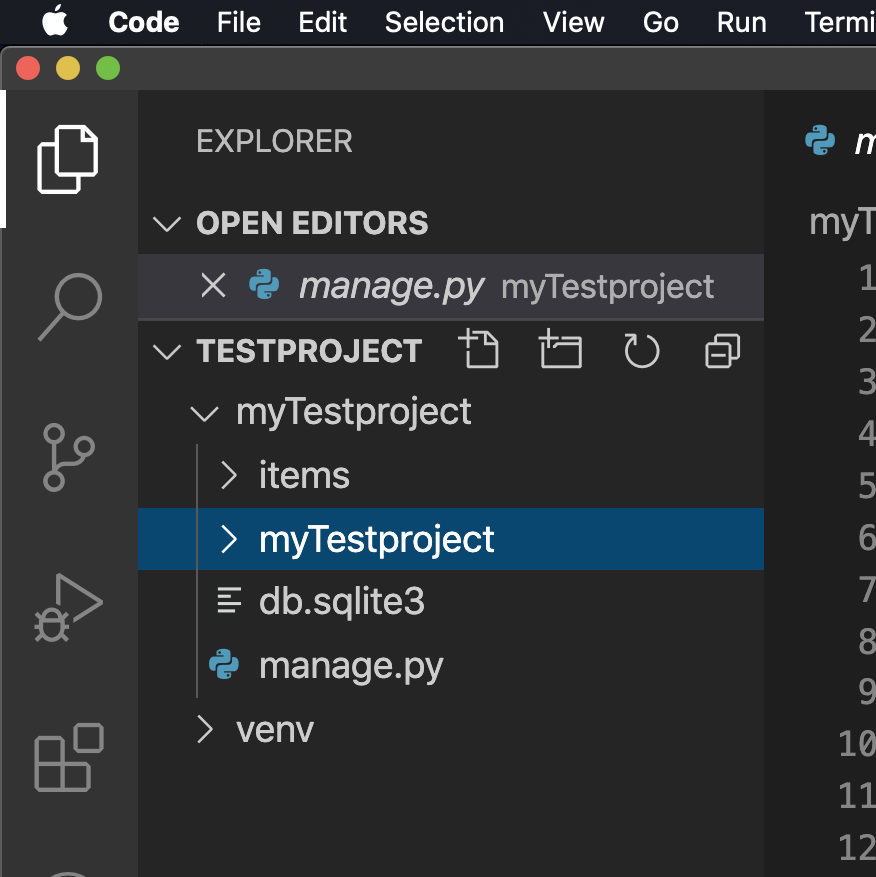
Now that we created our first app, let’s configure our project to use it.
To do that, open the setting.py and try to find the INSTALLED_APPS variable:
INSTALLED_APPS = [
    'django.contrib.admin',
    'django.contrib.auth',
    'django.contrib.contenttypes',
    'django.contrib.sessions',
    'django.contrib.messages',
    'django.contrib.staticfiles',
]
and add items to this list.
INSTALLED_APPS = [
    'django.contrib.admin',
    'django.contrib.auth',
    'django.contrib.contenttypes',
    'django.contrib.sessions',
    'django.contrib.messages',
    'django.contrib.staticfiles',
    'items',
]
Lets write our first project.
Hello World
Open the views.py file inside the items app, and add the following code:
from django.http import HttpResponse

def home(request):
    return HttpResponse('Hello, World!')
Open the urls.py file inside the myTestproject, and add the following code for the url.
from items import views

urlpatterns = [
    path('admin/', admin.site.urls),
    path('', views.home )
]
That’s it! You just created your very first view.

Conclusions:
In this tutorial, we learned how to install the latest Python version and how to setup the development environment. We also had an introduction to virtual environments and started our very first Django project and run it.